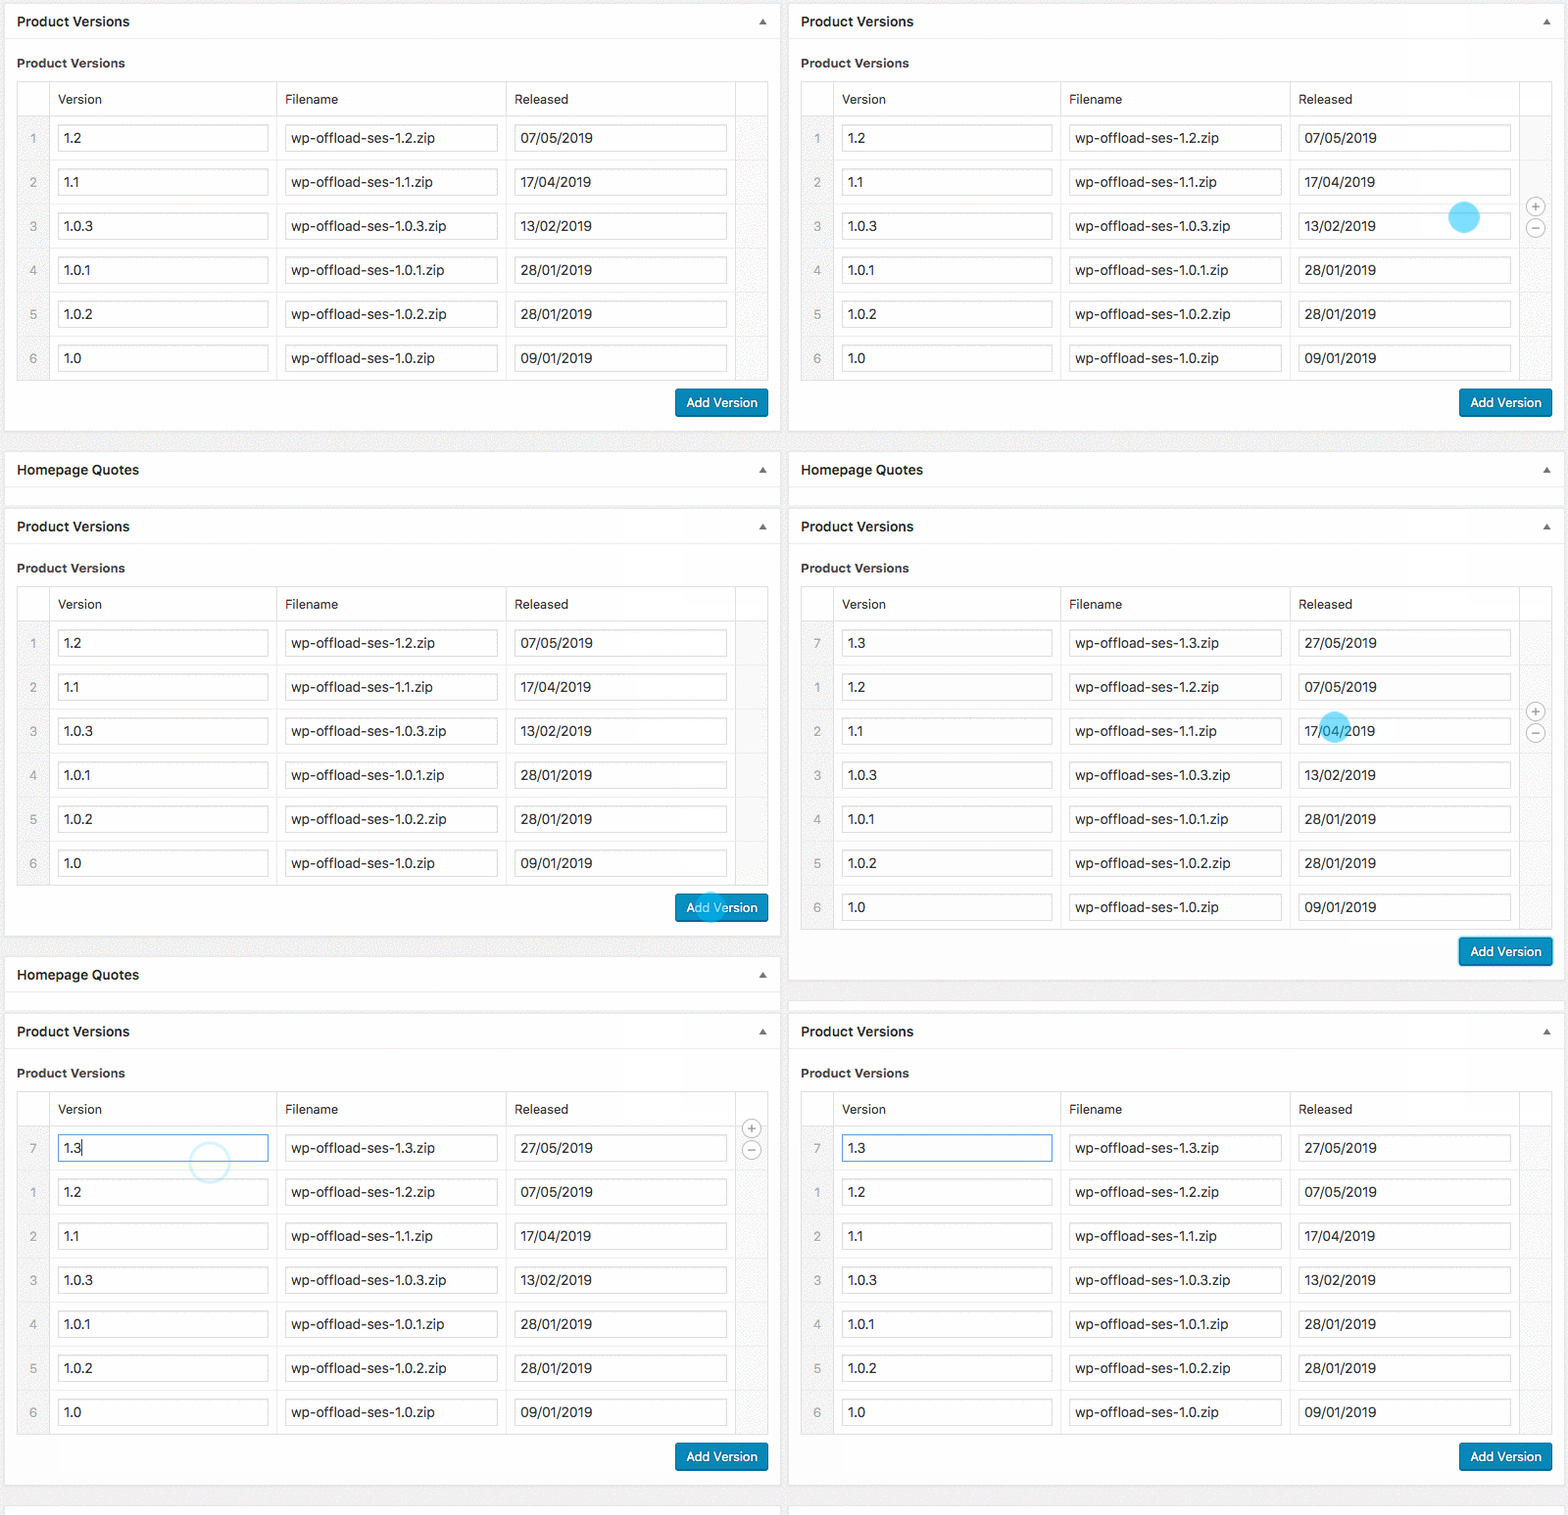
Last year I wrote about using an Advanced Custom Fields (ACF) repeater field to manage data in a custom table for storing versions of the Delicious Brains plugins. In the table, the versions are rendered in descending order, so the latest version is at the top. However, when a new row is added to the repeater, by default, it’s added to the bottom, which isn’t ideal for my use case.
In this post I’ll take you through how I customised the ACF repeater to add new rows to the top of the table.
When I originally wrote the post and initially implemented the ACF repeater sitting on top of the custom table, I envisaged a fair bit of work to get new rows added to the top, and I had considered this would be more work than just rolling my own specific UI for managing the custom table. It turned out to not require too much effort.
The only way to accomplish this is to run some custom JavaScript, that needs to be bootstrapped whenever the repeater is displayed. ACF makes it easy to load custom scripts in the header of the WP admin:
add_action( 'acf/input/admin_head', 'my_repeater_js' );
Essentially I need to listen for any clicks of the ‘Add Row’ button (or whatever custom label it has been given) and then rearrange the table rows after the new row has been added to the bottom. Which means I can’t just hook in to the click event like ACF does, as my handler might fire before ACF has actually added the new row to the repeater.
Luckily ACF triggers a change event on the field after the new row has been added, which I can listen to.
<?php
function my_repeater_js() { ?>
	<script type="text/javascript">
		jQuery( function( $ ) {
			var ProductVersionsRepeater = {
				key: '5be43a3b7bec6',
				init: function() {
					this.$addRowButton().click( function() {
						ProductVersionsRepeater.$addRowButton().addClass( 'clicked' );
					} );
					this.$field().on( 'change', function() {
						if ( !ProductVersionsRepeater.$addRowButton().hasClass( 'clicked' ) ) {
							return;
						}
						ProductVersionsRepeater.addNewRow();
						ProductVersionsRepeater.$addRowButton().removeClass( 'clicked' );
					} );
				},
				$field: function() {
					return $( '.acf-field-' + this.key );
				},
				$addRowButton: function() {
					return this.$field().find( 'a[data-event="add-row"]' );
				},
				addNewRow: function() {
					var $row = ProductVersionsRepeater.$field().find( '.acf-table tbody tr:not(.acf-clone):last' );
					ProductVersionsRepeater.moveRowToTop( $row );
				},
				moveRowToTop: function( $row ) {
					$row.detach();
					this.$field().find( '.acf-table tbody' ).prepend( $row );
				}
			};
			ProductVersionsRepeater.init();
		} );
	</script>
<?php }
I’ve wrapped up all the jQuery code inside an object, so I can at least the code organised and to make it easier to add further UI/UX customisations.
I’ve defined the key of the repeater so I am only targeting the correct repeater on the edit screen.
Essentially, I’m listening for the click of the ‘Add Row’ button, adding a class to the button to track it’s been clicked, so I can check that when listening to the ‘change’ event for the field, and then perform the row reshuffle.
Which is simply to get the last row in the repeater’s table, the one that has just been added, making sure not to target the template row ACF uses (with the class ‘acf-clone’), remove it from the table then add it back in as the first row.
Here’s the final product:

As we populate the table with all the old versions of our plugins, the repeater table is going to grow quite considerably in size. So in a future iteration I’d like to initially collapse all but the first row and be able to toggle them when needed. I hope to cover that in a future post
I googled this topic extensively but couldn’t find any existing articles on solving this problem, so hopefully this proves useful for someone else.
If you find it useful or you have accomplished the same using another technique, let me know in the comments below.